
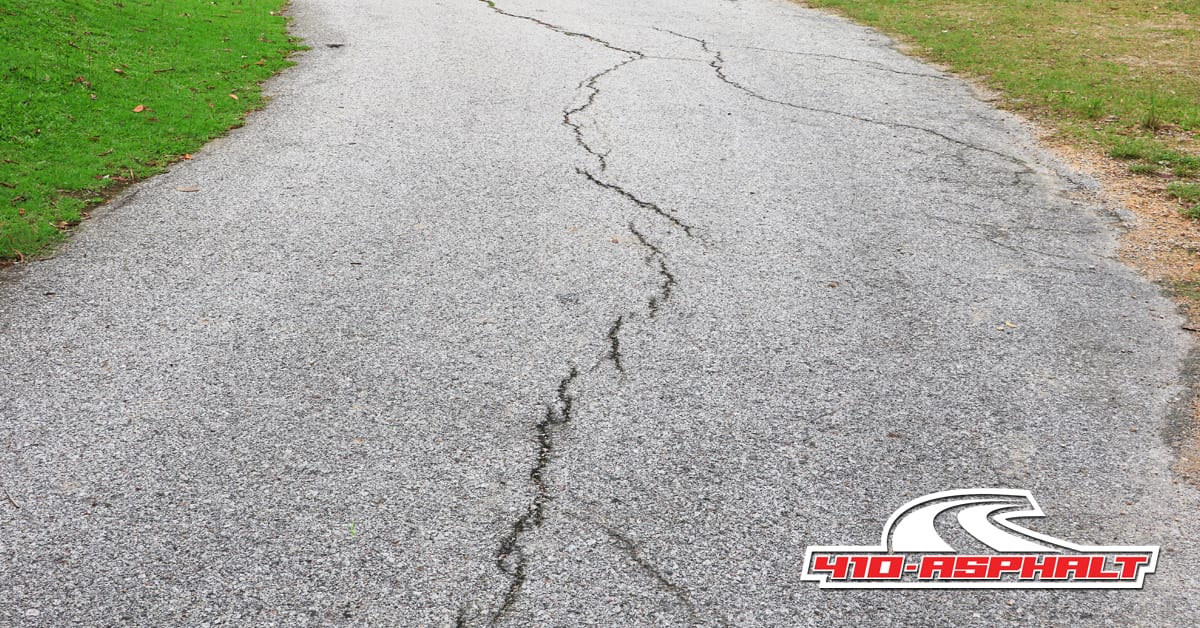
 With temperatures moving up and down in Maryland combined with rain and snow events, you may notice some cracks are forming in your asphalt driveway. While it can be upsetting to see, cracks are bound to happen, especially in winter. The freezing and thawing cycles we go through during Maryland winters are the primary cause of cracks in your driveway. Learning the basics of driveway repair may extend the lifespan of your driveway!
Fortunately, learning how to fix cracks or potholes in your asphalt driveway is a simple process with only a few tools and materials needed. For the average do-it-yourselfer, the process is straightforward.
Materials Needed for Driveway Repair in Your Asphalt Driveway
First, let’s gather your materials for the project. You will need:
- Hammer
- Chisel
- Wire brush or wire wheel attachment (with a drill if using the wheel)
- Shop-vac or compressed air gun
For small cracks less than ½ inch, you’ll also need a putty knife or trowel to smooth out your asphalt fill material. A caulking gun can help with filling the crack, depending on the product you purchase. As for fill material, using a rubberized asphalt crack filler will get the job done.
For cracks larger than ½ inch, a cold processed asphalt repair compound works better. You’ll also need something to tamp down the product, either a wooden post or steel tamper.
Driveway Repair – Check the Weather First
Before you fix your asphalt driveway cracks, check the weather forecast. It’s best to wait for a sunny day where rain or other wet weather isn’t forecast for at least the next 24 hours.
Allowing the driveway to heat up under the sun will provide a better bond between your existing asphalt and the repair product. While you’re waiting, survey all the cracks or dips to be filled. If there is dirt, weeds, or loose asphalt, remove them with a hammer, chisel, paint tool, or a flathead screwdriver.
Use the shop vac, air gun, or a broom to remove all material from the crack. Once that’s done, you’re ready to start filling your cracks or dips.
Fixing Small Cracks in Your Asphalt Driveway
Follow these steps to fill the small cracks.
- Apply the filler by pouring it slowly over the crack or using a caulk gun. You don’t want to overfill the crack, so go slow with this part of the process.
- Using a trowel or putty knife, smooth out the crack, ensure the fill is level with the driveway and all edges are covered. Add more filler in small amounts as needed.
- Allow the filler to dry completely according to the package instructions before sealing or driving over the filled cracks.
Fixing Large Cracks in Your Asphalt Driveway
The process is more involved with larger cracks.
- For cracks deeper than two inches, use small crushed pieces of rough gravel to fill the hole to the two-inch mark.
- Tamp down the gravel using a wooden post or steep tamper into the hole and add more if needed.
- Fill the crack with the cold process repair compound until it’s level with the driveway.
- Tamp the product down and continue filling as needed until the crack is level.
The asphalt will take longer to cure using this process. Even if the surface feels dry, you’ll want to wait at least two weeks to allow the underneath to cure before sealing fully.
Sealcoating Your Fixed Asphalt Driveway
To prevent more damage to your newly repaired driveway, we recommend a professional sealcoating. Give the professionals at 410-ASPHALT in Crofton, Maryland, a call today for a free estimate on the sealcoating.
Not ready to go the DIY route to fix your asphalt driveway cracks or dips? We’ll come out to do the repairs and then schedule a time to come back later to sealcoat the driveway.