
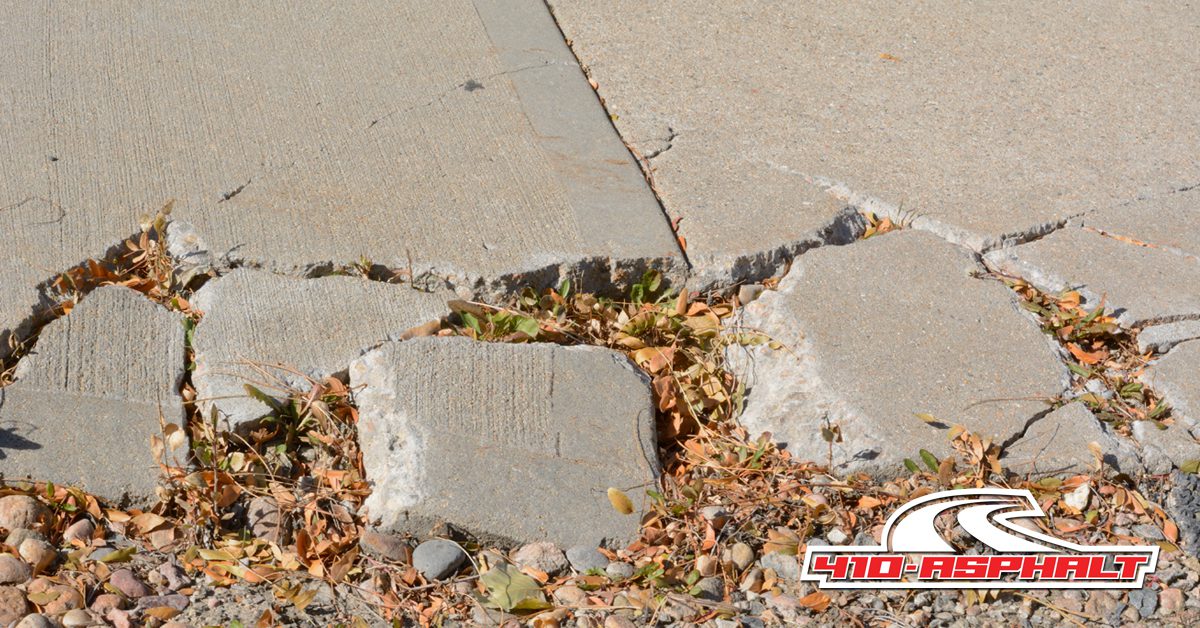
 Most sidewalks in Maryland are made of concrete. Over time, concrete can crack and separate, even more so when trees are nearby, causing roots to lift the concrete slabs.
Even though concrete lasts longer than asphalt, patching it can be more difficult. Concrete patches are usually noticeable because it’s difficult to color match, especially if the sun has discolored the concrete.
Suppose you’re contemplating a DIY sidewalk repair. In that case, you may be able to do it yourself, depending on the number of cracks and severity of separation. However, if you want a more seamless finish or there are too many cracks for an easy repair, 410 Asphalt in Crofton, Maryland, can tackle the project for you.
While asphalt is in the name, we also repair and replace concrete sidewalks, parking lots, and driveways. No job is too big or small, and we work with homeowners, renters, and business owners.
If you’d rather complete your sidewalk repair using the DIY approach, you’ll need some supplies before you get started.
DIY Sidewalk Repair – Materials
Depending on the size, number, and severity of cracks in your sidewalk, you may not need all these materials. To be prepared for your DIY sidewalk repair, gather these materials:
High-pressure hose
Wire or stiff bristle brush
Trowel
Four cones
String or rope for creating a barrier
Chisel
Hammer
Sand
Concrete mix
Bucket or container to mix cement
Water source
Gloves
DIY Sidewalk Repair – Steps for Success
Now that you have all your materials, it’s time to get started on your DIY sidewalk repair.
1. Prepare the Cracks
The first step is to prepare and clean the cracks you’re repairing. For this, you can use a high-pressure hose or stiff bristle brush. Remove all the debris from the cracks, including pebbles, broken concrete pieces, sticks, and anything else lodged in the crevices.
2. Create a Barrier
By creating a barrier, you can alert pedestrians and others using the sidewalk to the repair to avoid hurting themselves or messing up the finish. Place a cone on each corner of the sidewalk section you’re repairing. Then, run your rope or string around the cones to create the barrier.
3. Widen the Crack
This step is needed to anchor the patch. Take your chisel and widen the crack, so the bottom is wider than the tip, creating a V-shape. You can also use a hammer to chip away at the concrete as needed. After you finish this, use the hose or brush to clean the crack again to remove the debris you chiseled away.
4. Fill if Needed
If the crack is deeper than a half-inch, you’ll need to fill it with sand until you’ve reached a depth of half an inch. This step will help keep your DIY repair level with the rest of the sidewalk.
5. Mix the Cement
Now it’s time to mix the cement with water to create the needed consistency to fill the crack. Follow the instructions on the cement mix to get the desired consistency.
6. Fill the Crack
Wet the crack edges to keep it moist, and use the trowel to fill in with the cement mixture. Continue to fill the crack until it’s just above sidewalk level, as the mixture will settle a bit while hardening. Use the trowel to flatten the top and scrape away any excess as needed.
It may be worth taking the extra step to purchase and apply a concrete bonding agent before completing the DIY sidewalk repair. Follow the instructions on the package if you take this extra step.
7. Cure and Keep Wet
Wait about two hours for the patch to dry. Spray down the patch to keep it wet and monitor the drying process over the next two days, re-wetting as needed until it cures.
Hiring the Pros for Your Sidewalk Repair
Concrete sidewalk repair is not always a straightforward job to DIY. Why not leave it to the experts at 410 Asphalt in Crofton, Maryland? Contact us today for a free estimate!
